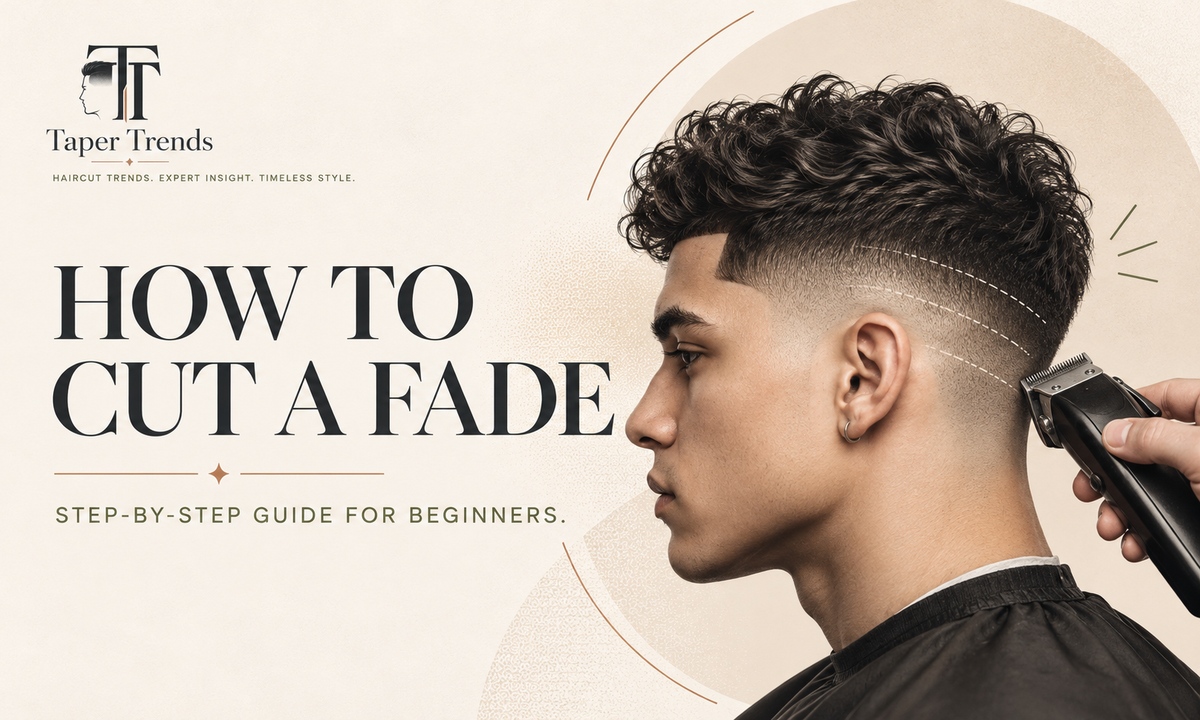
To cut a fade,you shorten the hair on the sides and back in stages, shortest at the neckline and longer as you move up, then blend each change in length until no hard line shows. Start with a longer guard than you think you need, work in narrow bands, and use the clipper's taper lever to soften every junction.
The method below is a conservative guarded fade that leaves room to fix mistakes. If you want to see the finished shape first, our what a low taper fade looks like guide shows the target, and the low taper fade guide covers the gentlest version of the cut from every angle.
What is a fade haircut?
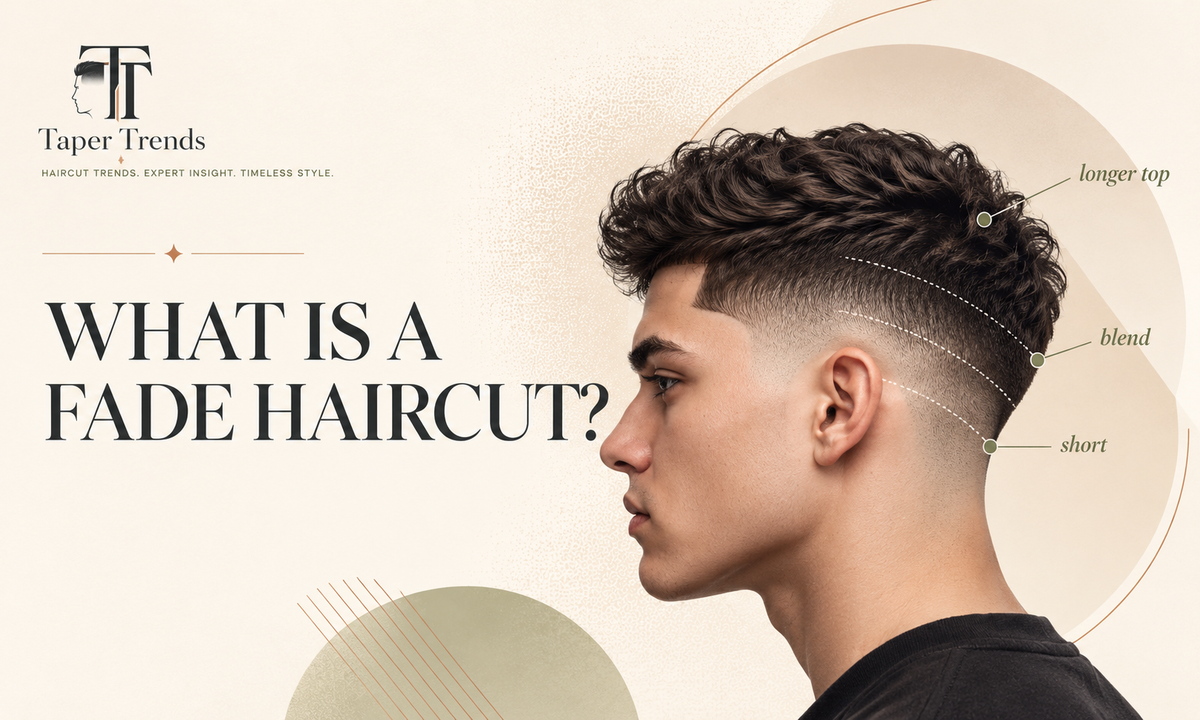
A fade haircut is a cut where the hair on the sides and back gets gradually shorter toward the neckline and ears, then blends into longer hair above. A finished fade has no visible step between lengths; it reads like a shadow, not an edge.
It helps to think in three zones. The shortest zone sits along the nape and around the ears. A middle zone carries the length upward. The upper zone, usually the top and upper sides, keeps the most hair. A buzz cut, by contrast, is one length all over, though a low taper buzz cut adds a short fade under it.
Fades and tapers use the same blending skills but expose different amounts of skin. Our taper vs fade explainer draws that line, and the types of fade haircuts guide names every variation by height and finish.
Which type of fade should a beginner cut?
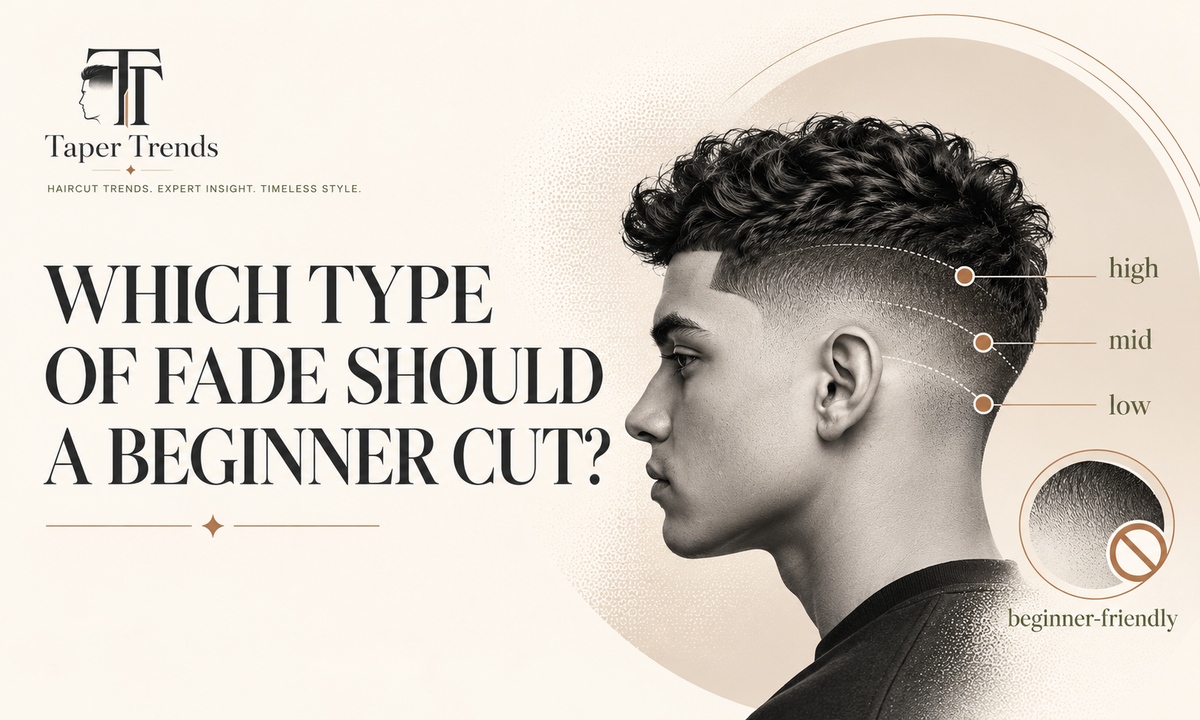
A beginner should start with a low or mid fade that ends at a guarded length rather than bare skin. Both leave more hair to work with, so a mistake can usually be blended away instead of grown out. Head shape and current hair length still matter.
Low fade vs. mid fade vs. high fade
Low, mid, and high describe where the fade starts on the side of the head, not how short it gets. In Wahl's definitions, a low fade starts close to the ear and is the less dramatic option, a high fade begins much higher to put the focus on the top, and a mid fade sits in between.
| Fade | Where it starts | For a first attempt |
|---|---|---|
| Low | Close to the ear | The safest choice |
| Mid | Between low and high | A reasonable next step |
| High | Well above the ear | Little room for error |
For side-by-side looks at each start line, see low vs mid taper fade, low vs high taper fade, and mid vs high taper fade. The low-mid taper fade sits between the two safest options, while a high taper fade is best left until your blends come out clean.
Should your first fade go down to skin?
No. A guarded fade teaches the same blending skills, and the extra length gives you a margin to correct uneven spots. Skin fades usually call for trimmers or shavers and much tighter control, so save them until you can blend a guarded fade cleanly.
A shadow fadeis the barbershop name for that guarded finish. When you're ready to go shorter, the skin fade guide covers the shaver work, and skin fade vs taper fade shows how much less room for error bare skin leaves. The low taper vs low fade comparison is a good reminder that the same height can mean very different amounts of short hair.
What tools and clipper guards do you need?
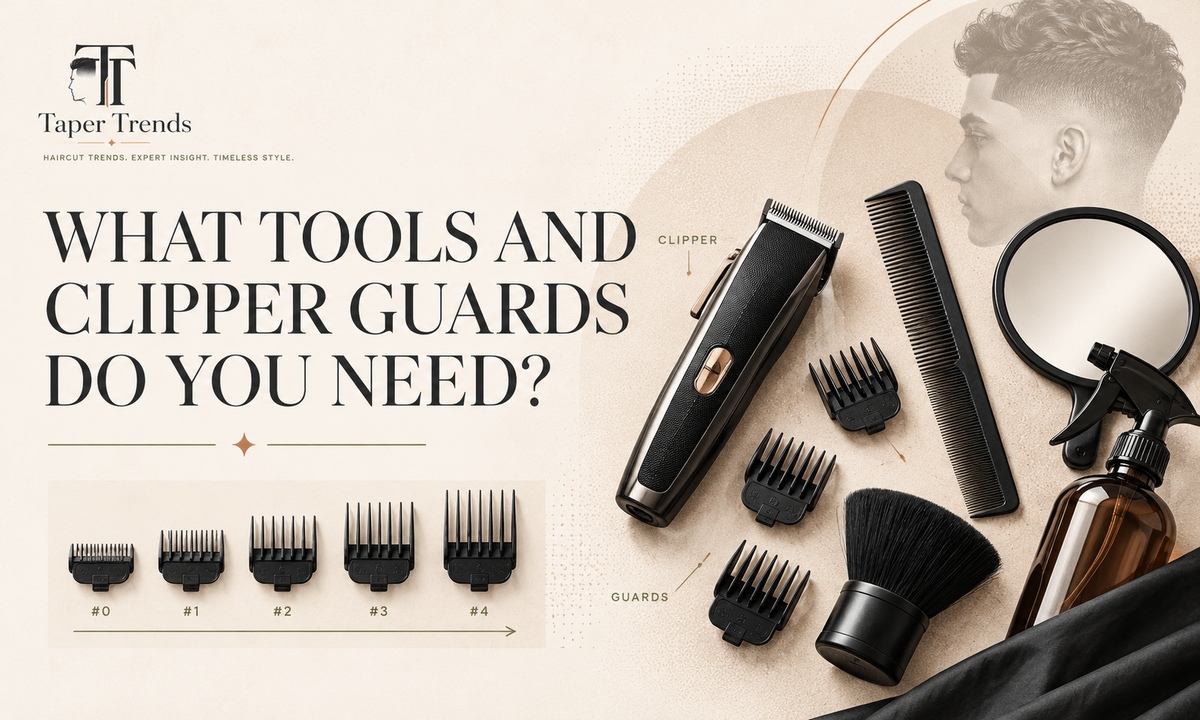
To cut a fade at home, you need a clipper made for head hair, a set of compatible numbered guards, a comb, bright light, and two mirrors. A detail trimmer helps with the edges. Read your clipper's manual before you start, because guard systems and lever ranges vary between brands and models.
Essential equipment for cutting a fade at home
| Tool | What it does |
|---|---|
| Head-hair clipper | Cuts the main shape |
| Numbered guards | Set the cutting length |
| Comb | Lifts the hair and shows uneven spots |
| Detail trimmer | Cleans the neckline and sideburns |
| Two mirrors | Show the back and both sides |
| Brush and blade oil | Keep the blades clean and running smoothly |
The clipper matters most. Eric Becker of Blind Barber Philadelphia told GQ that an underpowered beard trimmer is the wrong tool for a fade. Our roundup of the best clippers for fades compares seven fade clippers by blade, taper lever and guard set.
Fade clipper guard size chart
The higher the guard number, the longer the hair it leaves. These are Wahl's standard guard sizes. The set runs up to #8 (1 inch). Other brands may differ, so go by the length printed on your guards.
| Guard | Length | Approx. metric |
|---|---|---|
| #1/2 | 1/16 inch | 1.6 mm |
| #1 | 1/8 inch | 3.2 mm |
| #2 | 1/4 inch | 6.4 mm |
| #3 | 3/8 inch | 9.5 mm |
| #4 | 1/2 inch | 12.7 mm |
| #5 | 5/8 inch | 15.9 mm |
From #1 upward, each guard adds 1/8 inch. The lever is built to split that gap. Our haircut numbers guide covers the full chart and how Wahl, Andis, and Oster labels differ, and the clipper guard sizes tool converts any guard to inches and millimeters.
How does the clipper lever work when fading?
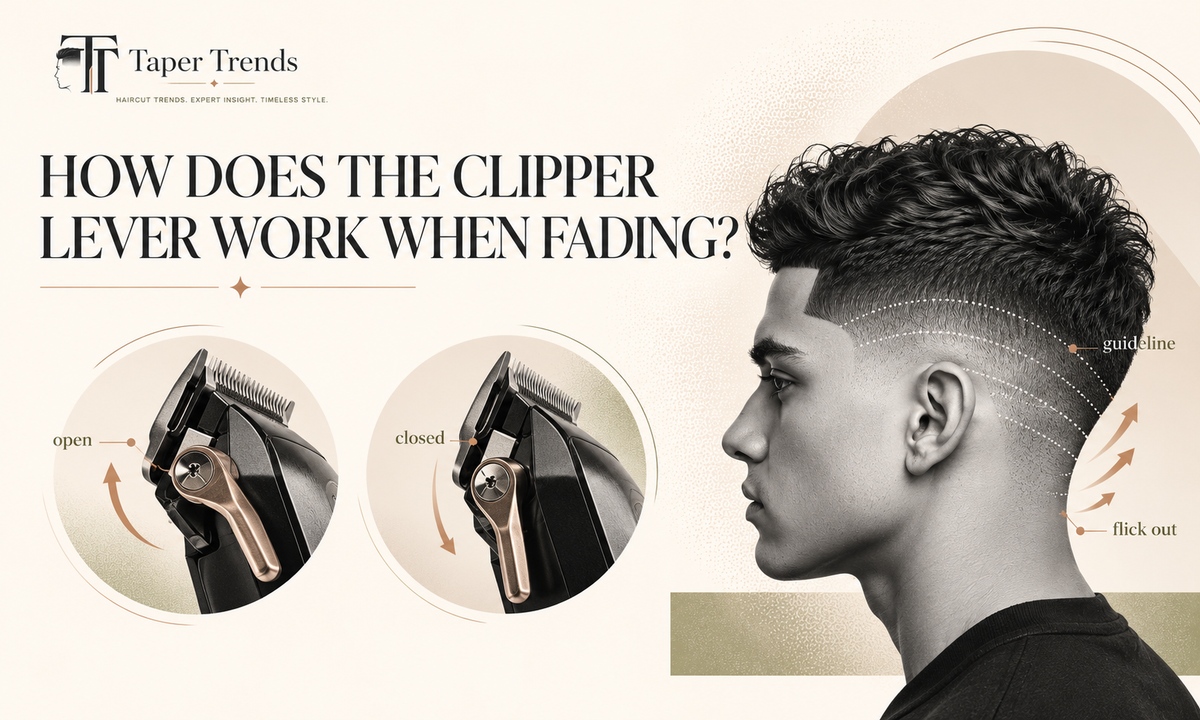
The taper lever is a small switch on the side of many clippers that shifts the blades to cut slightly closer or slightly longer. On Wahl clippers, moving the lever from one end to the other changes the cut by 1/16 inch. That is half the 1/8-inch step between neighboring guards, which is why the lever is your main blending tool.
Open vs. closed clipper lever
Many guides call the longer setting “open” and the closer setting “closed,” but Wahl's own lever page uses the two words both ways in different paragraphs. Go by direction instead: on Wahl clippers, lever down gives a longer cut and lever up gives a closer one, with a middle position that splits the difference. On other brands, confirm the direction in the manual.
This guide calls them the long setting and the short setting.
What are fade guidelines and flick-out movements?
A guideline is the planned height where one cutting length stops and the next begins. The flick-out, which Wahl calls the upward rocking motion, means pulling the clipper gently away from the scalp at the top of each stroke so the blade doesn't cut a hard step into the hair above. A visible line is something different: the unwanted band left behind when blending falls short.
Barbers use these same terms in the chair, so learning them pays off twice. The different kinds of fades overview explains how the guideline height defines each fade, and the taper haircut guide shows how the lever handles a subtler blend at the sideburns and nape.
How do you prepare your hair and plan the fade?
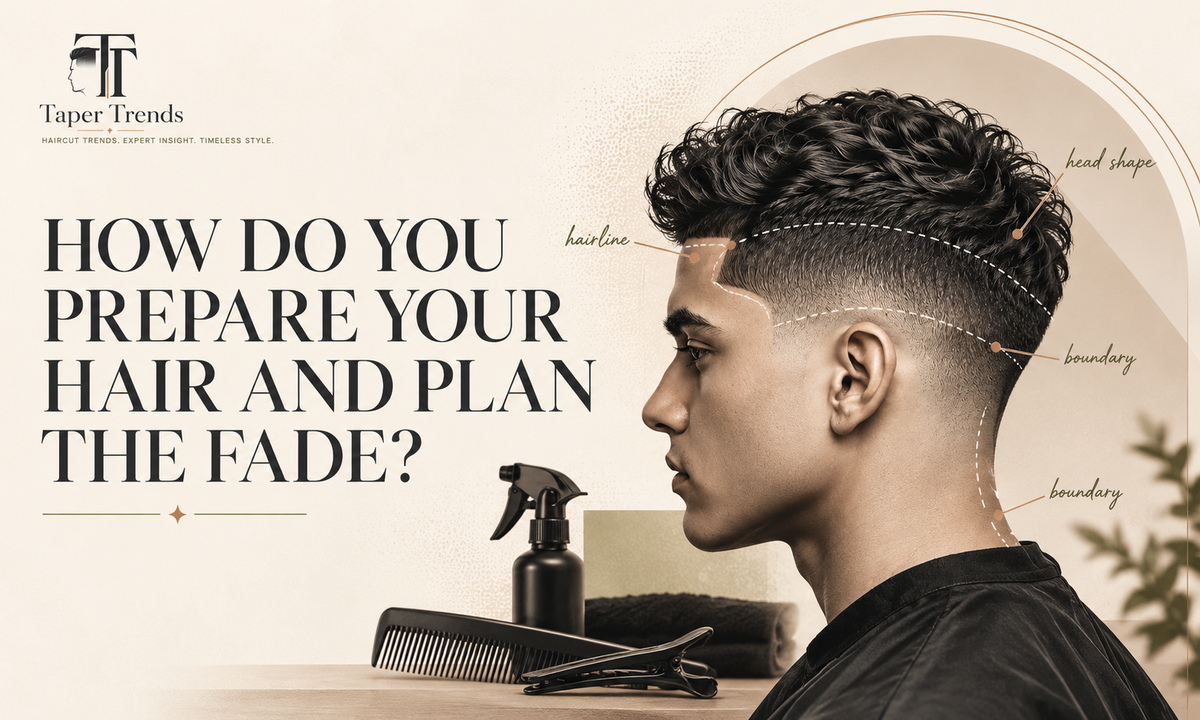
Prepare by washing out any product, combing the hair flat, setting up bright light, and deciding exactly where the fade will start before the clipper goes on. Tutorials disagree on damp versus dry hair. Wahl's fade tutorialbegins with damp hair combed down, while many barbers prefer dry hair because it shows the true length. Your clipper's manual should settle it.
Check the hair, head shape, and fade boundaries
Map the fade before you remove any length. Becker's method separates the top from the sides and back with a horseshoe-shaped section, which gives you a clear upper limit. Note where the hair grows in different directions, especially at the crown and any cowlick.
Pick landmarks you can find on both sides, such as the top of the ear and the temple, and follow the curve of the head rather than an imaginary straight line. Wahl recommends cutting against the direction of growth so every hair feeds through the guard.
The same landmarks are what a barber asks about, which is why our how to ask for a fade guide starts with height. If you write your plan down, the barber brief generator keeps the start line, bottom finish, and top length on one card.
How to cut a fade step by step
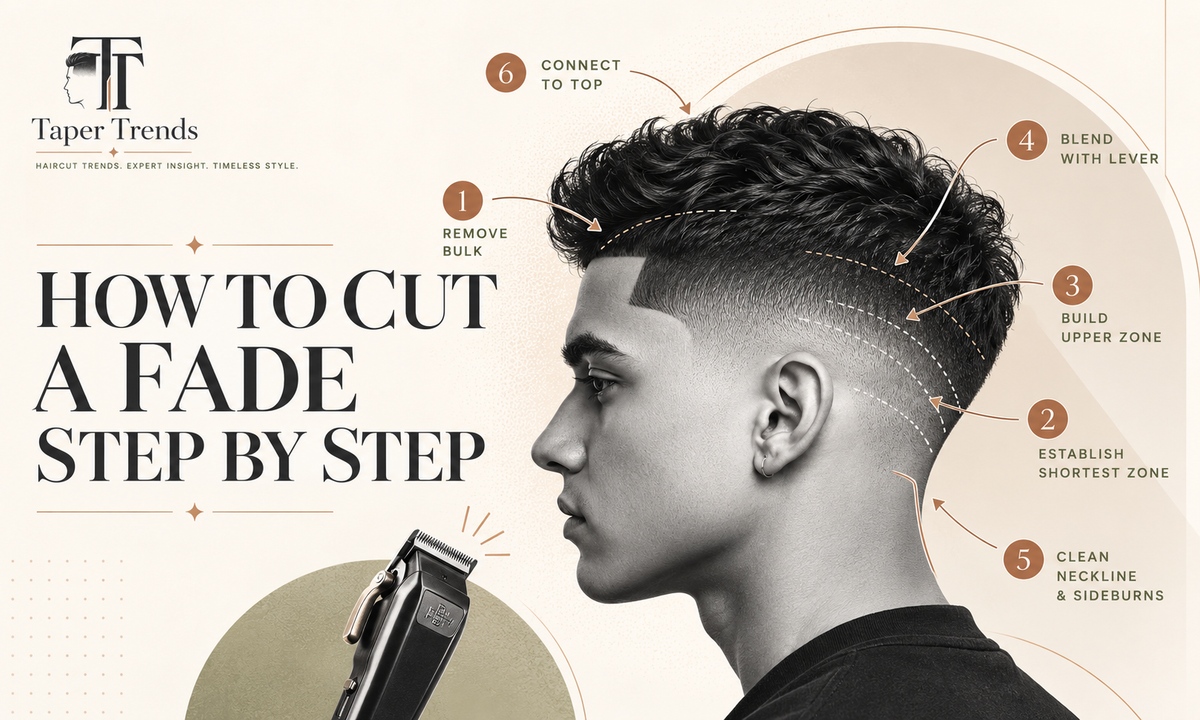
To cut a fade, remove bulk with a longer guard, cut a short base at the bottom, add a middle band, blend each junction with the lever, connect the sides to the top, and clean the edges. The example below uses #4, #3, and #2 guards for a conservative low-to-mid guarded fade. Adjust the numbers to your hair and clipper.
One rule runs through every step: cut each zone with the lever on the long setting, and save the short setting for blending.
Step 1: Start with a longer guard and remove bulk
Attach the #4 guard (1/2 inch) and cut the sides and back up to your horseshoe line. Becker works in slow vertical sections, tilting the head away from the clipper and moving upward toward the section line. Cut against the growth and repeat passes until the length is uniform. Leave the top alone for now.
Expected result: one even length on the sides and back, with no patches.
Step 2: Establish the shortest guard zone
Switch to the #2 guard (1/4 inch) and cut only the lowest band, meaning the nape and the area around the ears. Stop every stroke at the same landmark on both sides, and flick out at the top so the pass fades away instead of ending in a hard edge. For a tighter result around the ears, Wahl suggests pulling the skin taut while you cut.
Expected result: a short base with a clear step above it. That step is normal at this stage.
Step 3: Create the middle and upper guard zones
Attach the #3 guard (3/8 inch) and cut a band directly above the #2 zone, stopping well below the top of the #4 area. Keep this band narrow. Running the #3 over the whole side wipes out the #4 length you need for a gradual transition. Compare both sides before moving on.
Expected result: three bands, with #2 at the bottom, #3 in the middle, and #4 above, plus a visible step at each junction.
Step 4: Blend the fade lines with the lever
Wahl's lever method blends each junction with the longer of the two guards attached and the lever moved to the short setting. You then recut only the strip where the shorter guard stopped. On a Wahl clipper, that combination lands roughly halfway between the two guard lengths, which softens the step without raising the fade. Work in small areas and inspect often.
Blend the lower transition
Keep the #3 guard on and move the lever to the short setting. On a Wahl clipper, that cuts to about 5/16 inch, between the #2 and #3 lengths. Recut the top edge of the #2 zone with short upward flicks, then check both sides.
Blend the upper transition
Switch to the #4 guard, keep the lever on the short setting (about 7/16 inch), and recut the strip where the #3 band stops. Use the same flick, and don't push the shorter zones any higher. Stop as soon as the step disappears. Extra passes only raise the fade.
This is the same blend barbers build in a taper fade and a mid taper fade; only the start line changes. Curved fades like the drop fade and burst fade bend that line around the ear, which is much harder to do on your own head. A temp fade, blended at the temples only, is the narrowest place to practice the lever.
Step 5: Connect the fade to the hair on top
If the top is longer than your #4 area, leave its length alone and soften only the ledge where the sides turn into the top, the area Wahl calls the rim of the head. A #5 guard (5/8 inch) with an upward rocking motion usually takes care of that shelf. Becker mentions finishing the top with comb and scissors, but that skill is better learned with guidance. Our scissor cut vs clipper cut guide explains where each tool belongs.
Expected result: the sides flow into the top without a shelf.
How much the top needs depends on the style it carries. A textured fringe or French crop hides a soft junction well, while medium-length hair and long hair over a low taper make the rim more visible.
Step 6: Clean the neckline, sideburns, and edges
Use the detail trimmer only to remove stray hairs along your natural perimeter. Wahl recommends trimming closely around the ears and neckline. Match the sideburns side to side, and resist reshaping the hairline. Hair cut past the natural edge takes a while to come back.
Expected result: clean edges that follow your natural growth.
If you wear a beard, the sideburns are where the fade hands over to it. The low taper fade with beard and skin fade with beard guides show how barbers carry the blend through that join.
How do you cut the back of your own head?
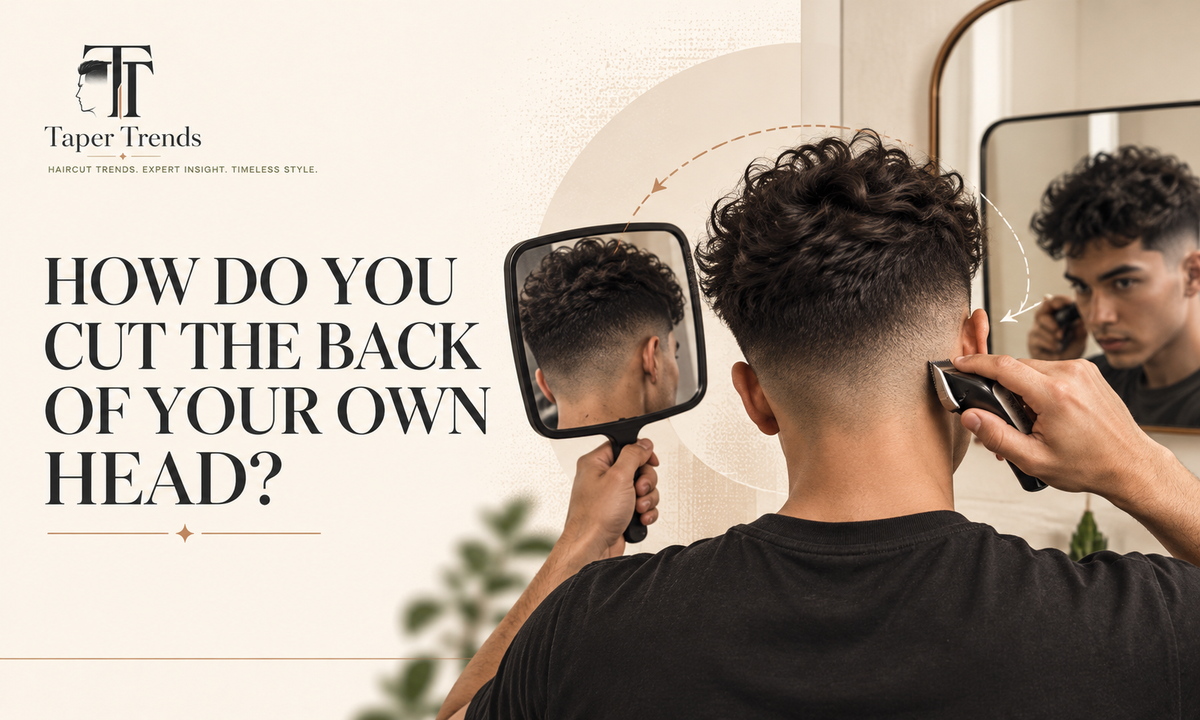
To cut the back of your own head, use two mirrors, cut in short upward strokes, and check the reflection before each pass. Repeat the guard order and stopping heights you used on the sides. The mirror reverses your movements, so keep sections small, and ask someone to look at anything you can't see clearly.
Use two mirrors to check the back and both sides
Stand with your back to a fixed mirror and hold a second mirror in front of you, angled so the back of your head shows. Becker recommends asking a friend to help with the back, and barber Sydney Shlakman suggests a phone camera as another option.
- Position the handheld mirror before you turn the clipper on.
- Cut one short vertical section upward, flicking out at the top.
- Lower the clipper and compare the reflection with the matching side.
- Repeat, checking the nape and ear landmarks on both sides.
Cutting a child's hair is harder still, because the head rarely stays still. A fade that sits low around the ears and neckline is the most forgiving shape, and our low taper fade for boys guide covers that cut and how to keep it school-friendly.
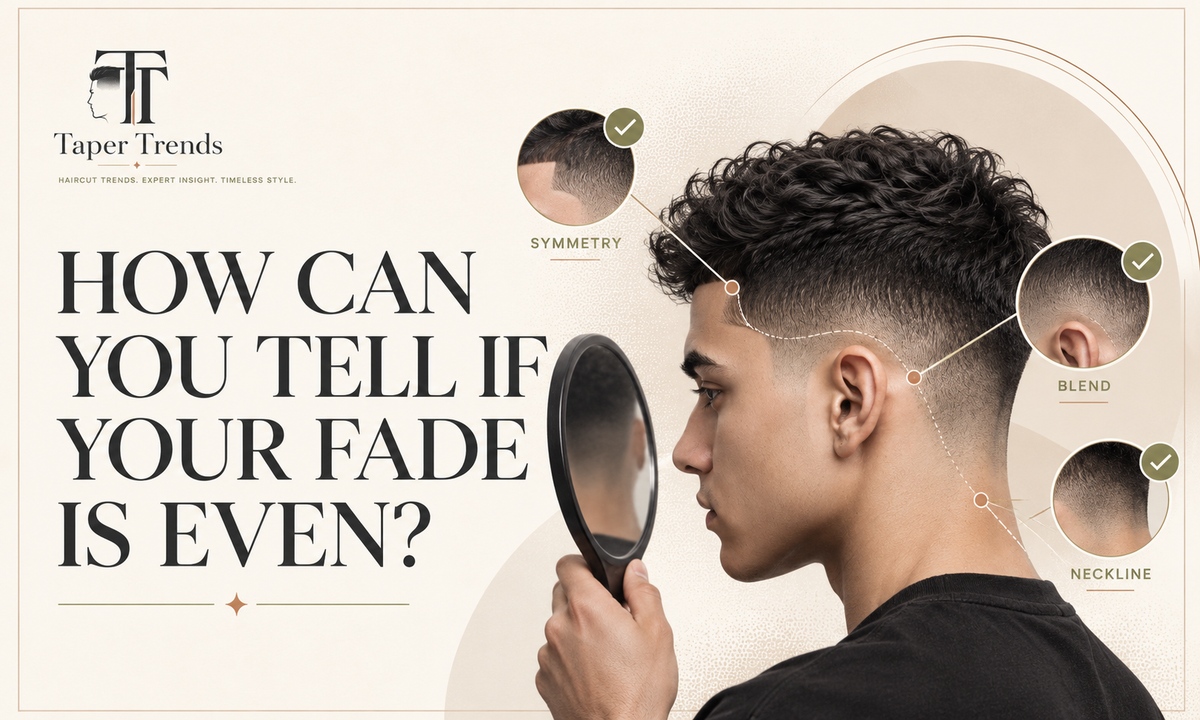
How can you tell if your fade is even?
A fade is even when the length rises gradually with no bands, patches, or ledges, and both sides start at the same height. Judge it by smoothness and symmetry, not by how many guards you used. Check under bright light from the front, both sides, and the back, then comb through the hair before you decide to cut more.
Final fade inspection checklist
If one point fails, fix only that spot. Shortening a whole zone raises the fade.
- No dark, unblended band remains between zones.
- The fade starts at the same height on both sides.
- The back follows the shape you planned.
- No short patches appear where you didn't intend them.
- The sides connect to the top without a shelf.
- The neckline and sideburns look neat without heavy edging.
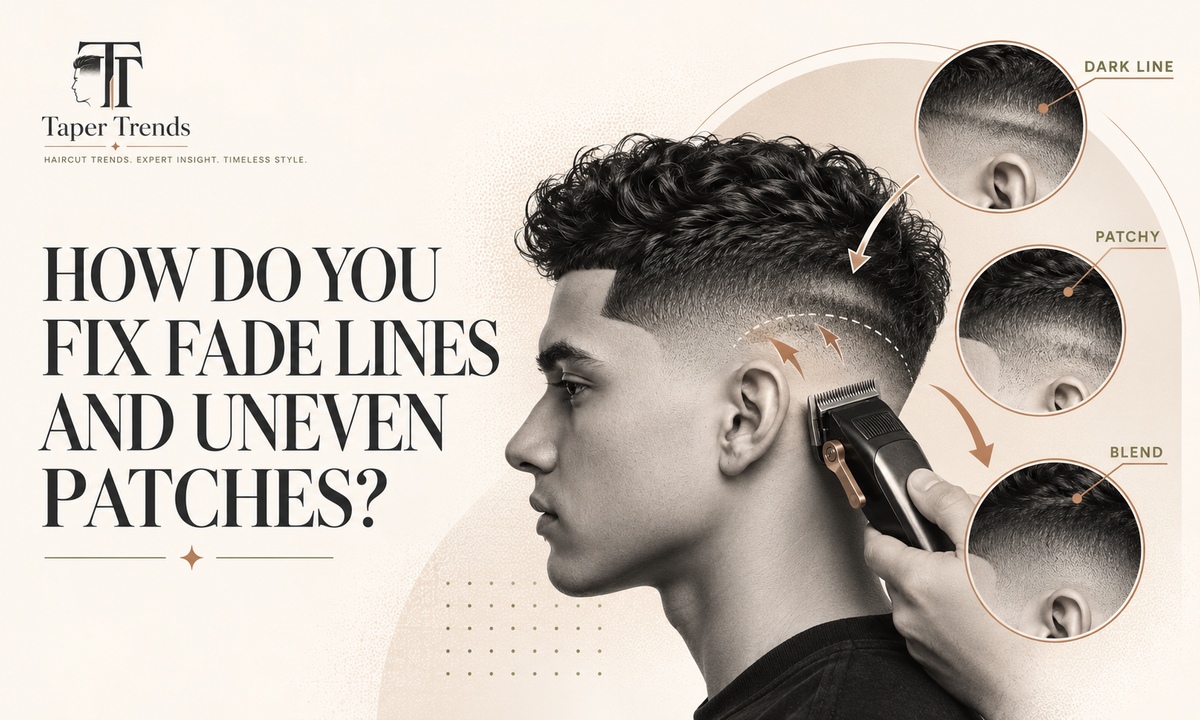
How do you fix fade lines and uneven patches?
Name the problem before cutting again. A dark line is two lengths that were never blended. A pale patch is hair cut shorter than the hair around it. A fade that sits too high means the short zone climbed past your plan. Only the dark line can usually be fixed by cutting more. For every case in detail, see how to fix a bad fade.
| Problem | Likely cause | What to do |
|---|---|---|
| Dark line | Two lengths meet without blending | Recut that junction only |
| Pale patch | Hair cut shorter than its surroundings | Stop cutting and let it grow |
| Fade too high | Short guard went past the planned height | Don't chase it; let it grow or see a barber |
How do you remove a dark line in a fade?
Identify the two zones that meet at the line and work only on that boundary. Put on the longer of the two guards, move the lever to the short setting, and make two or three short rocking passes. Check under bright light after each pass. If a faint line remains, try the middle lever position before you ever reach for a shorter guard.
What if the fade looks patchy or too high?
A dark band means hair is still there, so you can blend it. A pale patch means the hair is gone. Wahl's basic rule applies here: you can always go shorter, but you can't add hair back. Trimming around it usually just raises the fade. Let it grow, style over it, or ask a barber.
Styling over a patch works better than you might expect, and our guide to styling a low taper fade covers the products and routine for the top. If the fade climbed too high, the low, mid, and high skin fade breakdown shows what each start height looks like, so you can judge whether to wear it for a cycle.
Does hair texture change how you cut a fade?
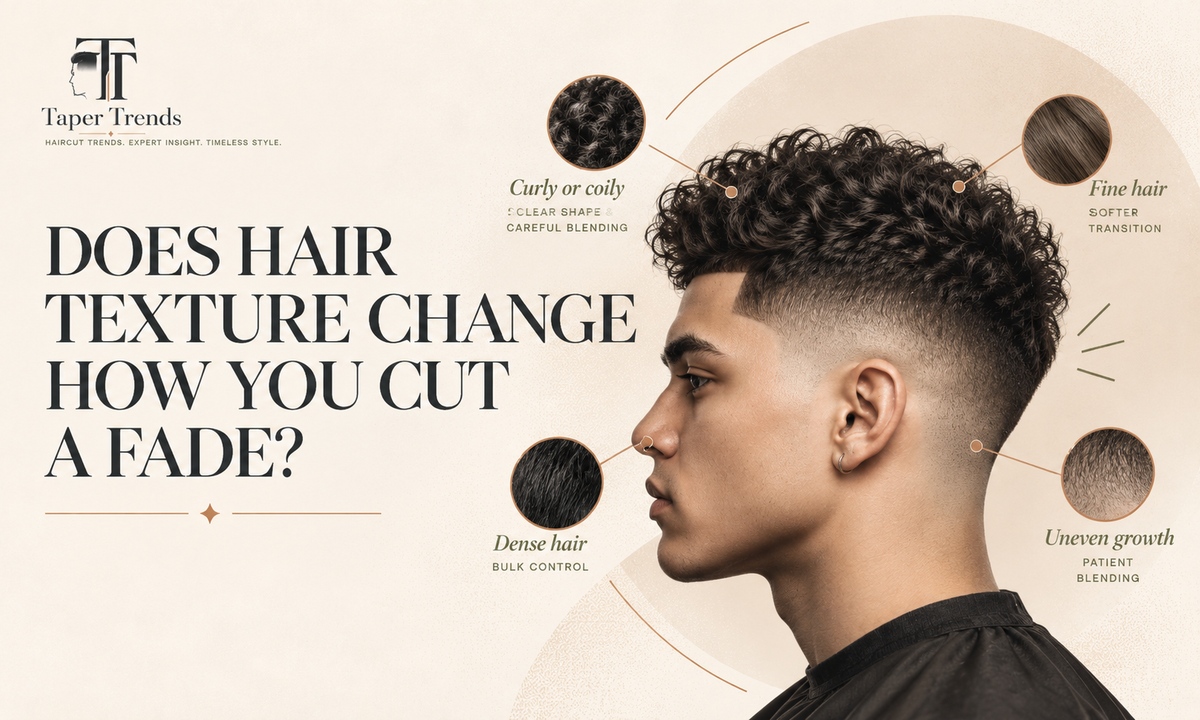
Yes. The same guard can look shorter on one head and longer on another, because curl pattern, growth direction, density, and how much scalp shows all change how length reads. Test a small area first, judge the result once the hair settles, and don't cut shorter just to match a difference in shade.
Cutting a fade on curly or coily hair
Curls compress under the guard and spring back once cut, so a curly fade can look different from what the guard number suggests. Shlakman recommends cutting in both directions on curly hair for a more even result. Comb or pick the hair out first so the curls feed into the guard.
Our texture guides show how barbers handle this: curly low taper fade, mid taper fade for curly hair, skin fade for curly hair, low taper fade afro, and low taper fade with waves, where the guard length has to protect the wave pattern.
Fading fine, dense, or uneven-growth hair
Wahl notes that fine hair shows different cut lengths more easily, so it needs extra blending. Cowlicks and thinner spots can make even lengths look uneven. For a cowlick, Wahl advises cutting opposite the direction of growth.
Straight hair shows every step, as our low taper fade for straight hair guide explains, and wavy hair sits in between; see low taper fade for wavy hair. For density at both ends, the low taper fade for thin or thick hair guide covers how density changes the way a fade reads.
How do you clean clippers and avoid skin irritation?
Clipper care covers three separate jobs: brushing out hair, disinfecting when more than one person uses the clipper, and oiling the blades. Oil keeps blades running smoothly, but it does not disinfect them, and an electric clipper should never be soaked. Your manual comes first.
- Brush: clear trapped hair out of the blades after every cut. Wahlsays to rinse only a removable, rinseable blade and to dry it thoroughly so it doesn't rust.
- Disinfect: California requires licensed barbers to remove visible debris and then disinfect clippers with an EPA-registered spray or wipe before each use. If you share a clipper at home, the same spray-or-wipe approach is sensible; follow the product label.
- Oil: Wahl suggests oiling the blades before or after every use, then wiping away the excess.
- Protect the skin:use light pressure, and don't cut over inflamed, broken, or infected skin. California's health and safety rules bar licensed professionals from doing so.

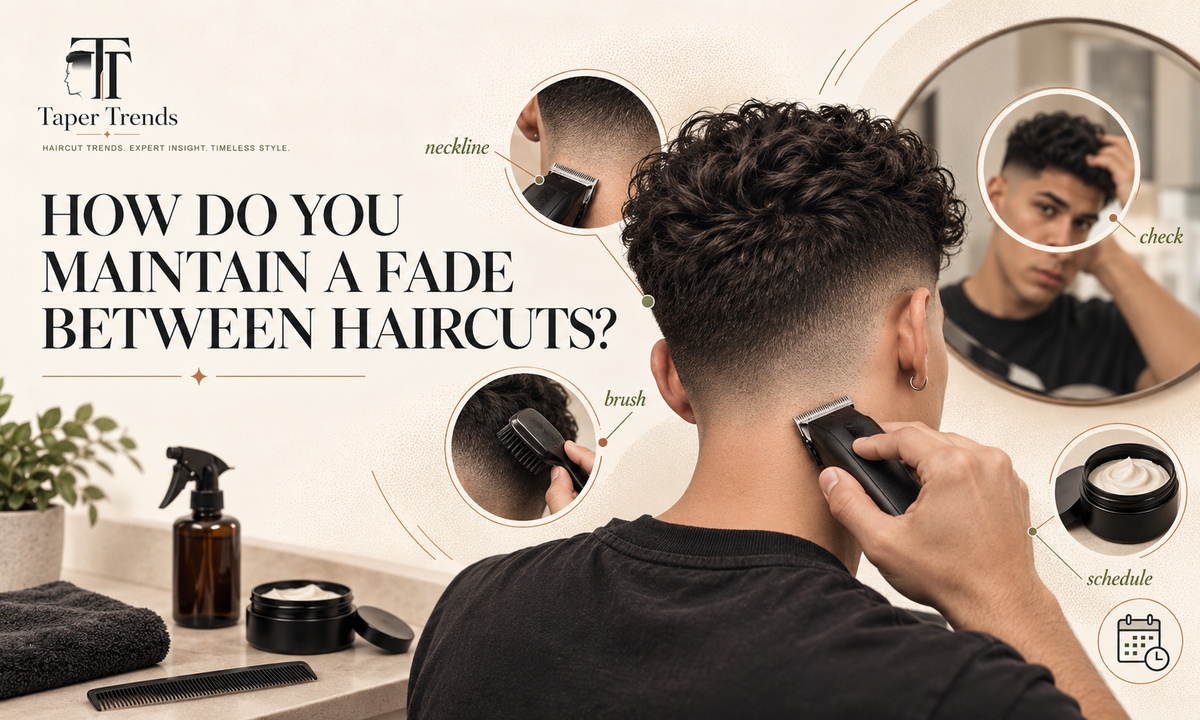
How do you maintain a fade between haircuts?
Between full haircuts, tidy only the neckline, the edges, and the lowest zone, and leave the blend alone. Barbers interviewed by Allure advised limiting home touch-ups to the lower hairline, the sides, and the area up to the temples, starting with the largest guard and taking off too little rather than too much. Once the blend grows out, recut the whole fade.
How soon that happens depends on the fade. Our how often should you get a haircut guide gives a window for each style, from skin fades that blur fastest to tapers that soften slowly. Shaved details wear off sooner than the cut around them, as the low taper fade design guide notes.
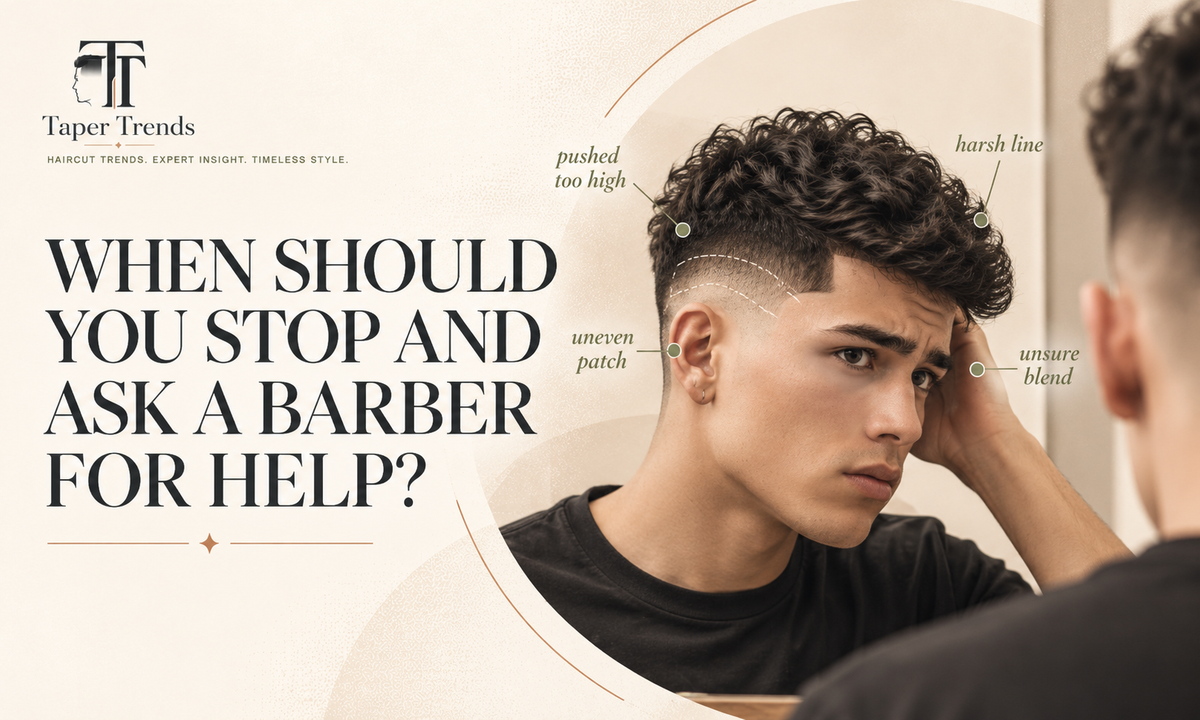
When should you stop and ask a barber for help?
Stop when the next pass is more likely to make the haircut worse than better. Becker is candid that barbers generally don't advise DIY fades at all. Put the clipper down if:
- You can't see the area you're cutting.
- The skin is nicked, irritated, or inflamed.
- A bald patch appears.
- You lose control of the clipper's angle.
- Each correction makes the blend look worse.
When you book the fix, tell the barber what you cut and with which guards. Our fade request guide gives you the four details to describe, so they can blend from where you left off instead of starting over.
Frequently asked questions about cutting a fade
These cover the edge cases the steps above don't: missing tools, guard shortcuts, and what the terms on a barbershop menu actually mean.
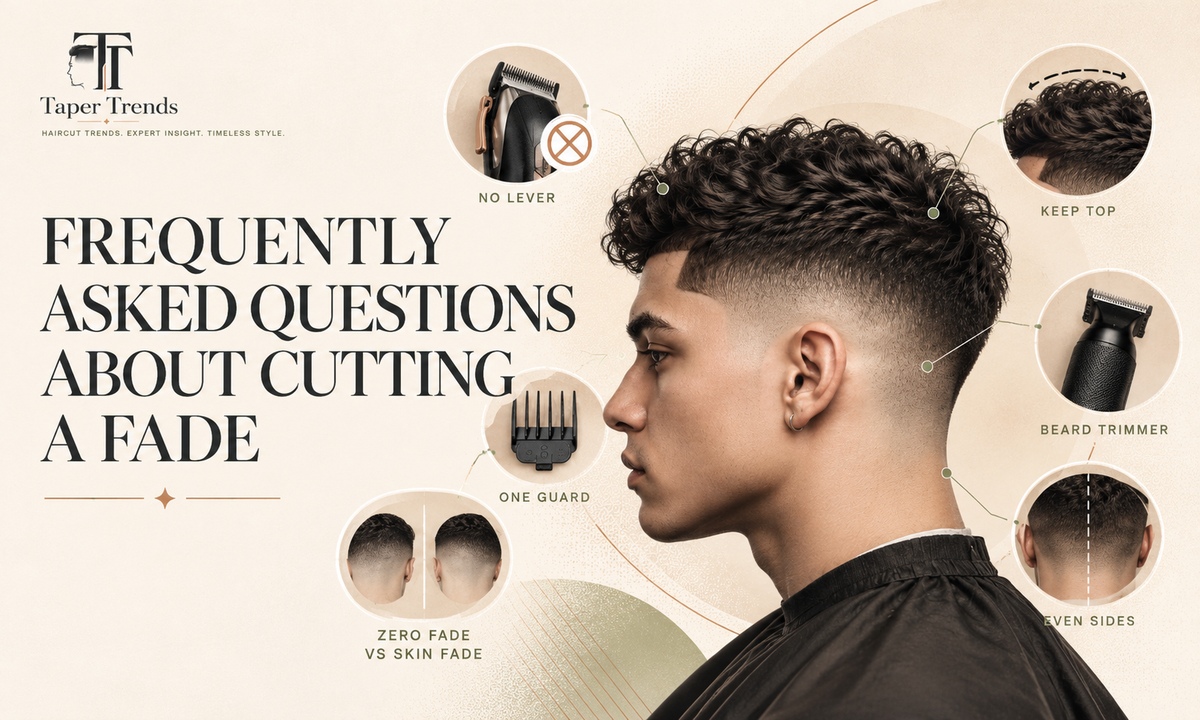
Can you cut a fade without a taper lever?
Yes, but it takes more passes. Without a lever, use more guard steps and rely on the upward rocking motion at each junction. With fewer in-between lengths, the blend may come out slightly less fine.
Can you cut a fade with only one clipper guard?
Not a true fade. One guard leaves one length, and a gradient needs at least two. On a Wahl clipper, the lever adds a 1/16-inch range, so a single guard plus the lever can create a subtle taper at the neckline, but not a full fade.
Is a zero fade the same as a skin fade?
Not always. "Zero" usually means cutting with no guard attached, which can still leave very short stubble depending on the blade. A skin fade describes the finish, where the shortest zone reaches bare skin, often with a shaver. Because clippers differ, ask your barber what their zero actually leaves.
Can you use a beard trimmer to cut a fade?
Usually not. Many beard trimmers lack the motor power and guard range to remove bulk evenly from head hair, and Eric Becker of Blind Barber Philadelphia warns against underpowered trimmers. Use one for the full cut only if the manufacturer lists head hair as an intended use.
Can you cut a fade without shortening the hair on top?
Yes. Wahl notes that a fade pairs well with longer hair on top for a more modern undercut look. Plan where the sides meet the top, and soften that junction with a longer guard unless you want a disconnected look.
Why does a fade look uneven when both sides were cut the same?
Usually because of head shape. Few heads are perfectly symmetrical, so identical cutting heights can look different over a flatter side or a bump. Compare landmarks such as the top of each ear from several angles, and correct in small passes.
For the zero question, our guard number guide explains what a no-guard pass leaves, and the skin fade guide covers the shaver finish that goes past it.
Before your first fade
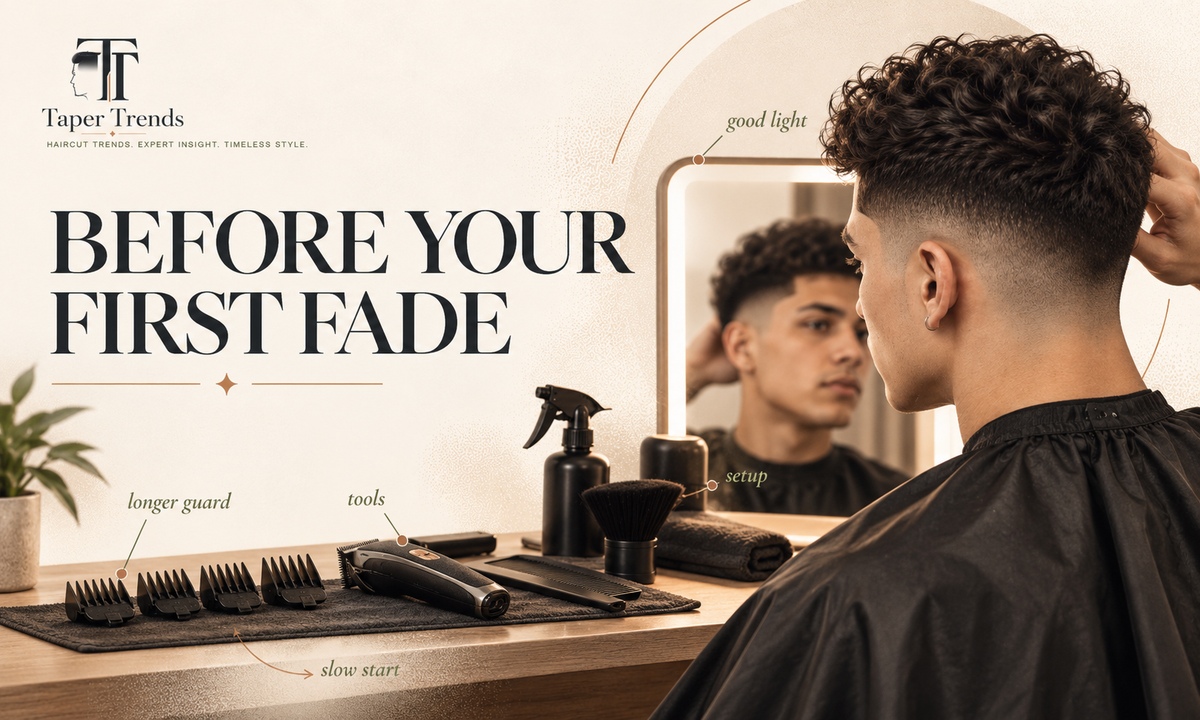
Keep the first attempt simple: a low guarded fade, three guards, and plenty of light. A fade that's slightly long can be fixed in minutes; one that's too short can only wait. Once you can blend a guarded fade cleanly, try tighter guards or a higher start.
When you get there, the low taper fade guide is still the best map of where a fade can go next, and types of fade haircuts lays out every harder version in order.
Keep going: fade guides worth reading next
Every fade on a barbershop menu uses the same blending skills you just practiced. These guides cover the cuts themselves, so you know what each one asks of the clipper.
- Low taper fade guideThe pillar guide to the gentlest fade, and the easiest one to get right
- Types of fade haircutsEvery fade by height and finish, so you know what you're cutting
- Different kinds of fadesThe fade overview, with the guard and lever terms barbers use
- Haircut numbersWhat each clipper guard leaves in inches and millimeters
- How to ask for a fadeThe four details to give a barber when a home cut needs rescuing
- How often to get a haircutHow fast each fade grows out, and when a touch-up is enough
- Taper vs fadeWhy a taper is the more forgiving first cut
- Undercut vs fadeHow a one-length undercut is cut differently from a blended fade
- Taper fadeThe broad guide to the blend itself
- Taper haircutCleaning only the sideburns and neckline, guards and lever included
- Low taper vs low fadeThe same height, two very different amounts of short hair
- Low vs mid taper fadeHow much height each start line takes on
- Mid taper fadeThe next step up once a low fade comes out clean
- High taper fadeThe start line with the least room for error
- Skin fadeBare-skin finishes, shavers, and why they come later
- Skin fade: low, mid, highWhere a skin fade starts, and what each height exposes
- Shadow fadeA guarded bottom that stops short of skin, like your first fade
- Skin fade vs taper fadeContrast, upkeep, and which finish forgives mistakes
- Temp fadeA blend at the temples only, the narrowest fade to practice
- Drop fadeA fade that curves down behind the ear
- Burst fadeThe curved fade around the ear, and why it's a barber job
The bottom line
Cutting a fade comes down to working from long to short in narrow bands, then blending each junction with the longer guard and the lever on its short setting. Start low, stay guarded, and check both sides after every pass.
A dark line can be blended. A pale patch or a fade that climbed too high can only grow out (see how to grow out a fade), so stop early and let a barber take it from there.
Want more haircut guides?
Browse clean, barber-ready breakdowns for every hair type.