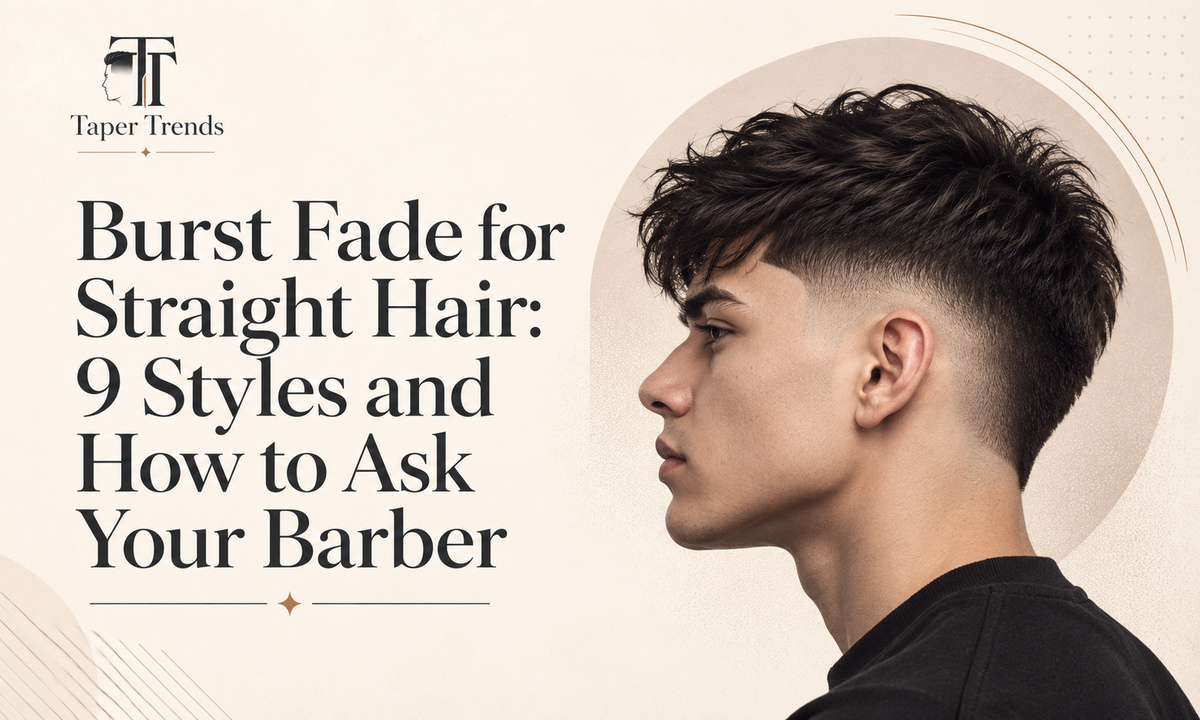
A burst fade works well on straight hair, as long as a few details are settled before the clippers come out: how high the curve sits around the ear, how short it gets at its lowest point, what the top looks like, and what happens at the crown and back. Straight hair lies flat and shows every transition, so a vague request usually gets a vague result.
This guide covers those choices, then nine styles grouped by effort, a script for your barber, and what upkeep really involves. If you want the arc explained on its own first, our complete burst fade haircut guide covers the shape from every angle, the complete low taper fade haircuts guide is the hub for every quieter variation, and the rundown of every kind of fade haircut sets the burst beside its relatives. For the same texture under a straight-line blend, compare the low taper fade for straight hair.
What is a burst fade?
A burst fade is a fade shaped as a semicircle around the ear. The hair is taken short, sometimes down to skin, in an arc that curves around the ear and ends behind it, while the hair above the arc and across the back of the head stays longer. London barbershop Cutters Yard compares the shape to a burst of sunlight, which is where the name comes from.
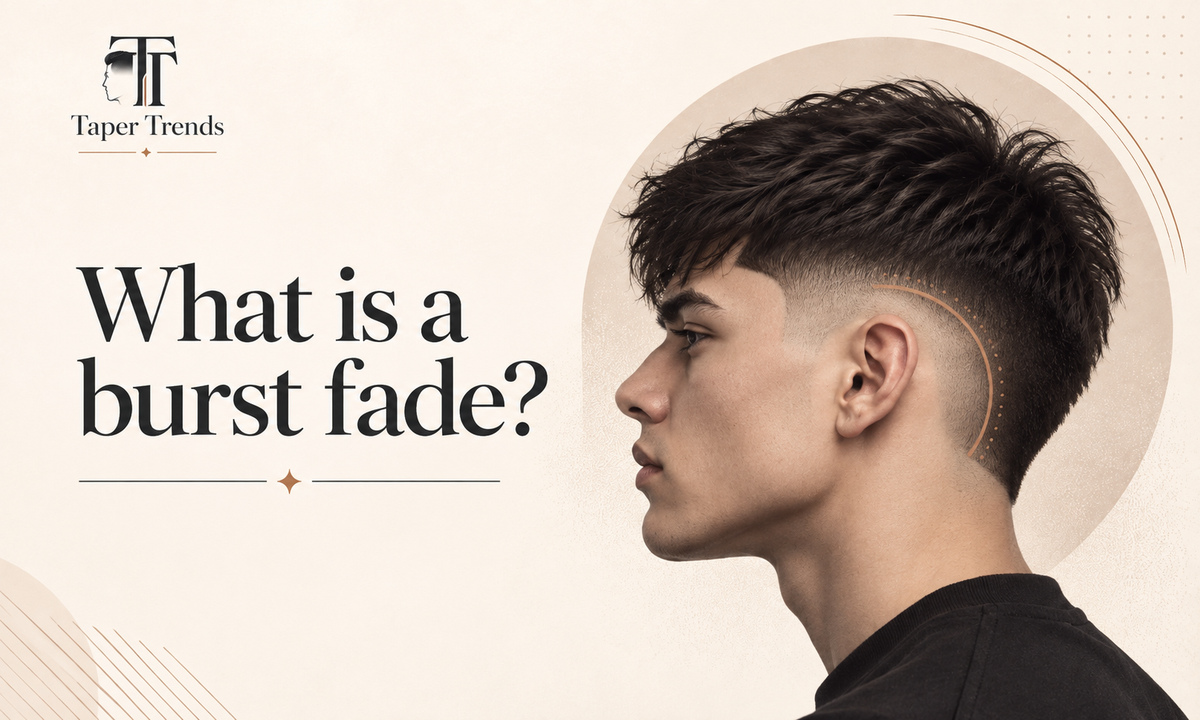
A burst fade is a side treatment, not a complete haircut. The top can be a buzz cut, a crop, a quiff, a mullet or a mohawk. If you are still deciding whether you want a burst at all, the taper low burst fade is the quietest version of the shape, and what a low taper fade actually looks like shows the straight-line alternative from the same angles.
Where the curve sits
Most fades run as a band around the whole head. A burst fade stays centered on the ear, so the back of the head keeps its length unless you ask otherwise. That is why the burst shows up so often under mullets and mohawks: both styles need hair at the back that a regular fade would remove. Our burst fade mullet and burst fade mohawk guides go through both in detail.
Why straight hair changes the result
Straight hair falls in one direction and holds its outline, so a sudden jump in length above the fade reads as a hard shelf. Waves and curls tend to blur that edge. Straight hair shows it, which means the blend above the arc needs more care than it would on textured hair. Compare the burst fade on curly hair or the burst fade for Black men and the difference is obvious: texture hides what straight hair reveals.
A cowlick at the crown or hairline will also push straight hair its own way, which affects any style that needs the top centered or parted. And fine straight hair flattens easily under heavy product — the low taper fade on thin and thick hair covers that trade-off in full.
Is a burst fade good for straight hair?
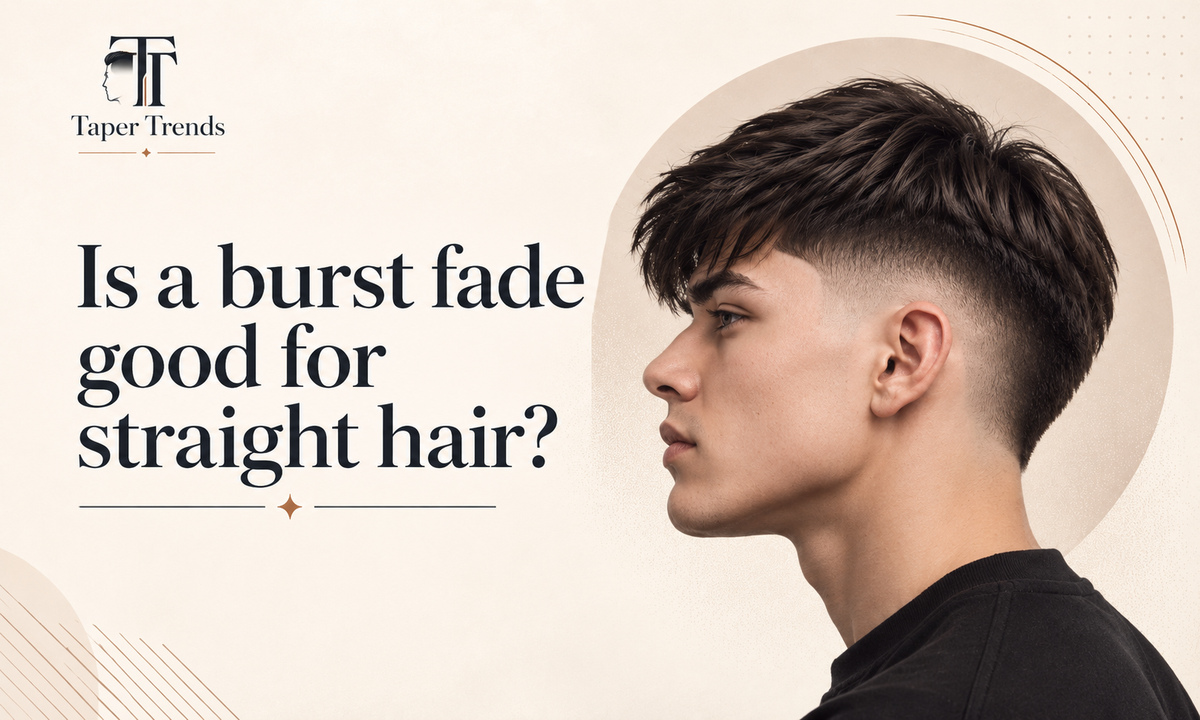
A burst fade generally suits straight hair. The more useful question is which version suits yours, because density, strand thickness and growth direction shape the result more than the word “straight” does. Dense straight hair can carry a high, skin-short burst with sharp contrast. Lower-density hair usually looks better with a lower arc and a finish that leaves some shadow.
What to check before you book
Density and strand thickness are different things, and they get mixed up constantly. Check each of these on its own:
- Density is how many hairs grow in a patch of scalp. High density hides skin through a short fade for longer; low density shows it sooner.
- Strand thickness is the width of each hair. Fine strands can still be dense, and thick strands can be sparse.
- Stiffness matters near the fade line. Coarse, stiff hair cut very short just above the arc can stick out instead of lying down, so a slightly longer transition helps.
- Growth direction matters most at the crown and front hairline. If you have a strong cowlick, point it out before the cut starts.
- Scalp visibility is easy to test. Look at your crown and part in daylight. If skin already shows there, a skin finish will show more of it on the sides.
When a softer burst or taper is the better call
A low burst with a shadow finish, or a simple taper at the sideburns and nape, is often the smarter choice in these situations:
- Your hair is on the lower-density side.
- You want less scalp showing.
- Your workplace or school leans conservative.
- Your skin gets irritated by very close cutting.
- You aren't sure yet about a bold shape.
A softer version grows out quietly, and you can always go higher next time. Going the other way means waiting for the sides to grow in. If that is where you are landing, the low taper vs low fade comparison explains how contrast and upkeep move together, and the full taper fade guide places low, mid and high side by side. For the level middle setting, see the mid fade haircut guide. For the curved middle setting, the mid burst fade guide compares it with low and high bursts, and the high burst fade guide takes the arc as far up the side as it goes.
How to choose the right burst fade height and finish
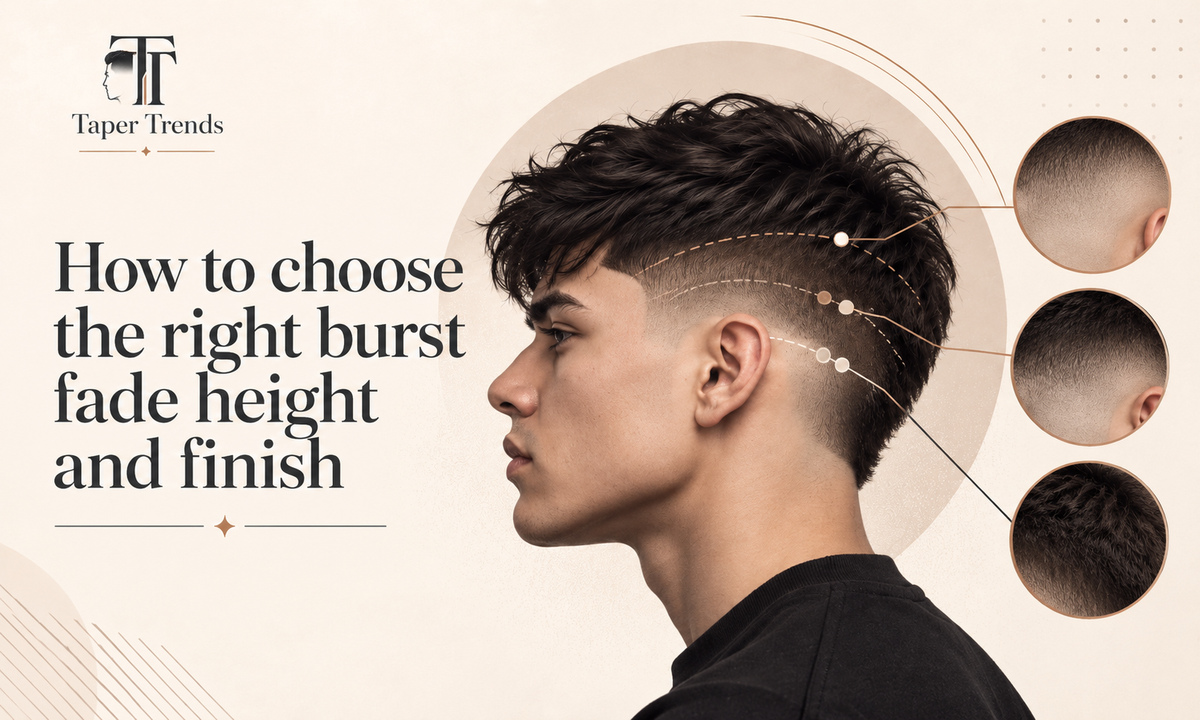
Choosing a burst fade comes down to three separate decisions: where the arc rises to, how short it gets at the bottom, and how the top connects to the crown and back. “Low,” “skin” and “mullet” answer three different questions. Treating them as one is a common reason people leave with a haircut that doesn't match the picture in their head.
Low vs mid vs high burst fade
Height describes how far the fade climbs relative to the ear, not how short it finishes. The labels are relative, and shops draw the lines a little differently, so a side-view photo settles any doubt.
| Height | Where it sits | Side hair kept | Contrast | Pairs well with |
|---|---|---|---|---|
| Low | Tight around the ear | Most | Subtle | First fades, conservative cuts, longer side-swept tops |
| Mid | Roughly halfway between ear and temple | Moderate | Clear | Crops, fringes, quiffs, most everyday tops |
| High | Up toward the temple | Least | Strongest | Faux hawks, mohawks, short high-contrast crops |
The higher the arc, the more side hair comes off and the sooner regrowth changes the look. The same logic applies to straight-line fades, which is why the low taper vs high taper comparison and the low vs mid taper fade breakdown are worth reading before you commit to a height. For straight hair specifically, see the mid taper fade on straight hair and the high taper fade on straight hair, and the drop fade for straight hair curves the line down behind the ear instead of around it.
Skin vs shadow vs guard-length finish
The finish is how short the lowest point of the arc gets. It is independent of height, so a low skin burst and a high shadow burst are both normal requests.
| Finish | Shortest point | Scalp showing | Grow-out | Good for |
|---|---|---|---|---|
| Skin (bald) | Bare skin | Most | Regrowth shows first | Maximum contrast |
| Shadow | Very short but still visibly dark | Some | Softer | A clean look with less exposure |
| Short guard | A low clipper guard, no bare skin | Little | Gentlest | Sensitive skin, a subtle result |
Top, crown and nape connection
The last decision is how the fade meets the rest of the haircut. A connected top blends smoothly down into the fade. A disconnected top keeps a deliberate visible line for extra contrast, and on straight hair that line will be obvious, so ask for it only if you want it.
At the back, you can keep a regular neckline, extend the nape, grow a full mullet or narrow the length into a mohawk strip. None of these is the default. Say which one you want. The low taper fade mullet and low taper fade mohawk show what each back treatment looks like once it has grown in.
9 burst fade styles for straight hair
All nine styles below use a burst fade on the sides. What changes is the length on top, the shape of the fringe or crown, and whether the back stays short or runs long. They're grouped by effort, starting with cuts you can towel-dry and forget about.
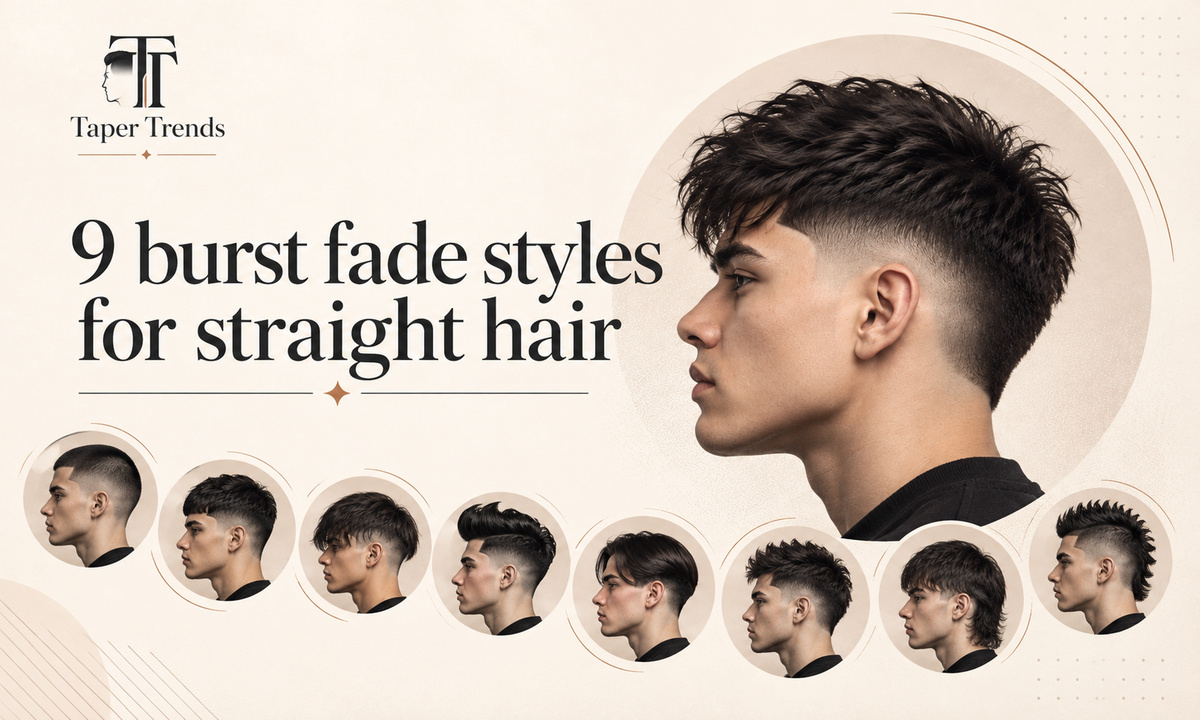
Short, low-maintenance styles
Short tops need almost no styling, but they put the fade, your head shape and your hairline on full display.
1. Burst fade buzz cut
The top is clipped to one short length and the fade carries the whole look. A skin finish gives the most contrast; a shadow finish keeps it softer. The catch: uneven density and head shape are easy to see at this length, and because the fade is the only feature, it needs refreshing often. Our low taper fade buzz cut and high taper fade buzz cut guides show the same top over two fade heights.
2. Burst fade French crop
A short, textured top brushed forward into a fringe, usually cut fairly straight across the front. Straight hair suits it because the fringe lies neatly without much persuasion. Ask for the crown to blend into the fade so the back doesn't look boxy. Styling is a small amount of matte product, or nothing at all. The French crop with a low taper fade covers the same top in detail, and the burst fade Edgar is what happens when that fringe is cut blunt.
3. Burst fade with a textured fringe
A slightly longer, point-cut fringe that moves more than a French crop. It only looks intentional when you work a little light product through it with your fingers, so skip it if you won't touch your hair before leaving the house. The cut gives the shape; the product gives the separation. Our burst fade textured fringe guide covers this exact cut in depth. See also the textured fringe with a low taper fade, the low taper fade fringe guide on where a fringe should land, or the high taper fade with a textured fringe for a higher-contrast version, or the drop fade textured fringe if you want the curve to dip behind the ear instead.
Medium-length everyday styles
Medium tops give you more ways to wear the cut, but they need a quick blow-dry and a clear plan for the crown.
4. Side-swept burst fade
The top is pushed to one side, which is about as easy as a medium-length style gets on straight hair. Tell your barber which side you part on and whether you want the part cut in or just combed. A cowlick that fights the direction may need a shaved part to hold. Check the opposite side in the mirror too, because that's where a shelf above the fade shows most. The side part low taper fade and low taper fade comb over cover how the part is set, and the low taper fade slick back is the version with no part at all.
5. Burst fade quiff
Longer at the front and lifted up and back. It needs enough length to stand, a blow-dryer, and a product with real hold. Skip the drying step and straight hair will sit flat by lunchtime. The low taper fade on medium length hair explains how much length a lifted front actually needs.
6. Burst fade with a middle part
This needs enough length on top for both sides to fall away from the center, and hair that naturally wants to split there. A strong cowlick near the front will fight a center part every single day. Ask for the sides below the part to connect smoothly into the fade rather than stopping at a hard edge. Our low taper fade middle part and middle part low taper fade guides cover the length and the cowlick problem in full.
Bold styles with length at the back
These styles keep or extend length at the back, so your crown and nape instructions matter as much as the fade.
7. Burst fade faux hawk
The top is pushed toward a raised center, but the sides keep more length than a true mohawk, which makes it easier to wear every day and easier to grow out. Say how wide the center section should be and whether the sides blend into it or stay visibly separate.
8. Straight-hair burst fade mullet
Short around the ears, long at the crown and nape. This is where the burst shape earns its place, because it clears the sides without touching the back. Tell your barber plainly that the back stays long. Without that instruction, the fade can creep behind the ear and take the length you've been growing. Bring a back-view photo. The burst fade mullet guide is the full version of this style, and the mid taper fade mullet shows the straight-line alternative. If you prefer a line that dips behind the ear, the drop fade mullet keeps the back long the same way.
9. Burst fade mohawk
The boldest of the nine: a strip of length runs from front to back while the burst curves the sides down around the ears. The mohawk is the hairstyle; the burst is how the sides are cut. Expect daily styling to keep the strip standing and more frequent trims to keep its edges clean. A cowlick at the crown can split the strip, so mention it before the cut. Our burst fade mohawk guide covers strip width, styling and upkeep.
How to ask your barber for a burst fade on straight hair
“Burst fade on straight hair” isn't a complete request. It says nothing about height, finish, top length, crown connection or the back. Give your barber those specifics along with a side and back photo, and most of the guesswork disappears. The barbers at Kinsman NYC make the same point about fades in general: “fade” names a category, not one haircut.
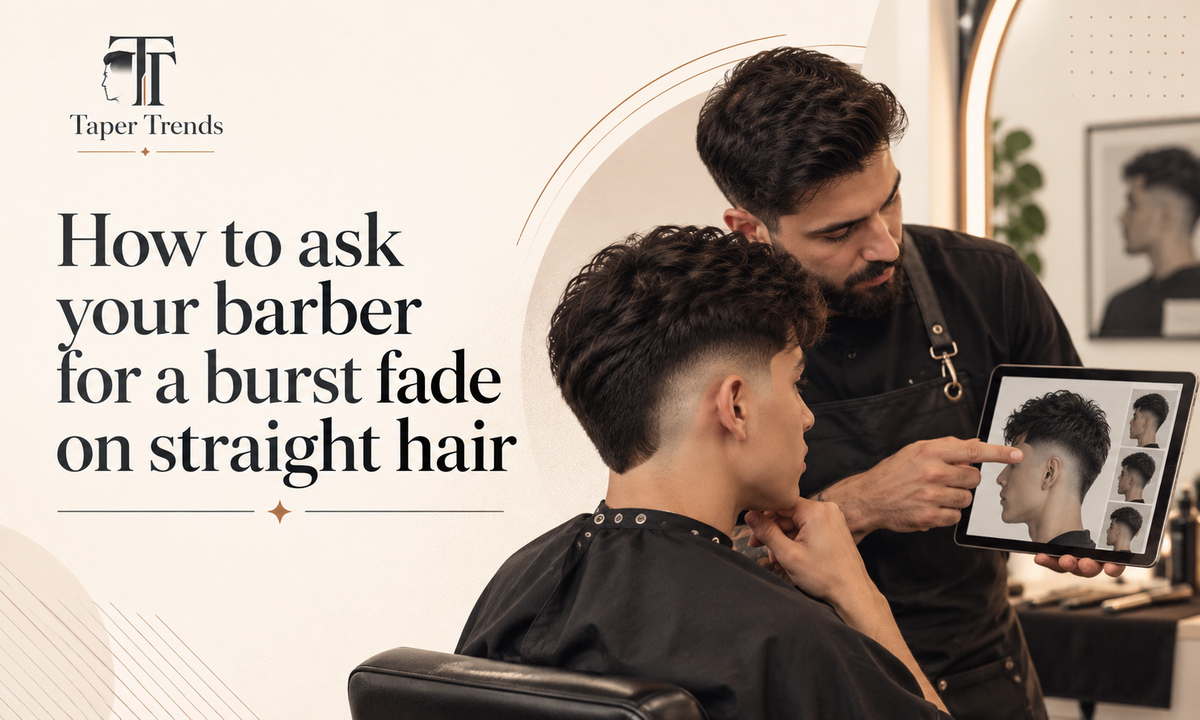
The six things to specify
Work through these before the appointment:
- Height: low, mid or high around the ear.
- Finish: skin, shadow or a short guard at the lowest point.
- Top: how much length to keep and which way it should sit.
- Crown: blended into the fade or deliberately disconnected.
- Back: regular neckline, extended nape, mullet or mohawk strip.
- Edges: whether to sharpen the hairline, how to finish the sideburns, and how to blend into your beard if you have one.
Leave any of these out and the barber will fill the gap with their own default, which may not be yours. If a beard is part of the picture, the burst fade with beard guide shows how the arc carries into it, the low taper fade with a beard covers how the sideburn connection is planned, the drop fade with beard guide shows the same blend under a curve behind the ear, the skin fade with beard guide covers it with a skin finish, and low taper fade designs covers cut-in lines if you want one in the arc. Our skin fade height comparison sets low, mid and high skin fades side by side when the finish is bare scalp.
Reference photos and a script to use
A good reference photo shows the cut from the side and the back, on hair roughly as dense and as long as yours. Front-only photos hide the crown and nape, and that's where most burst fades go wrong.
Before the appointment, make sure your photos show:
- the side profile, with the curve around the ear visible
- the back, including the neckline or nape
- hair with similar density and top length to yours
Name one thing you don't like in the photo, too. Then adapt this script:
“I'd like a [low/mid/high] burst fade around the ear, taken down to [skin/shadow/a #1 guard]. Keep [length] on top, styled [forward/back/to the side], [blend/disconnect] the crown, and finish the back as a [regular neckline/extended nape/mullet/mohawk strip].”
How to style a burst fade with straight hair
The fade itself needs nothing day to day. The top does. Straight hair sets in whatever direction it dries, so shape it with the dryer first and use product only to hold and finish. Fine hair wants a lighter product in a smaller amount; dense or coarse hair can take more grip. Our guide to styling a low taper fade walks through the same routine step by step.
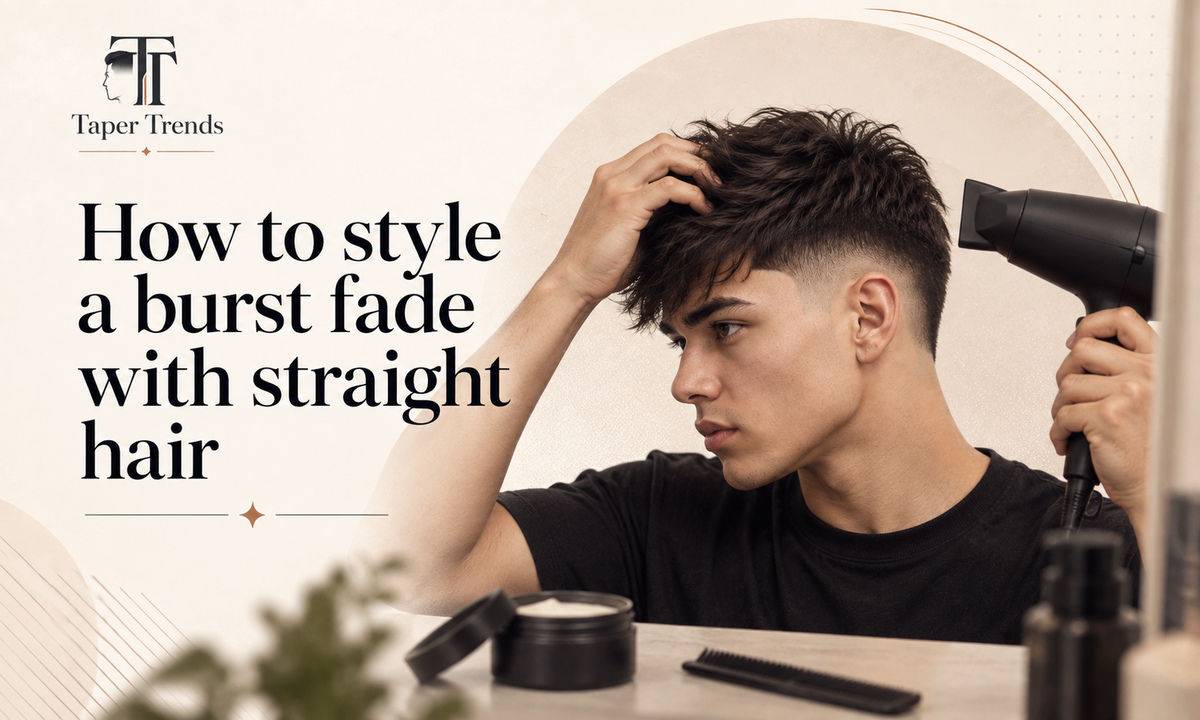
A five-minute styling routine
- Start with damp, towel-dried hair. Dripping-wet hair takes longer to set.
- Push the hair in the direction you want with your fingers or a brush.
- Blow-dry on a warm setting while holding that direction, rather than trying to reshape it afterward.
- Rub a small amount of product between your palms until it's spread thin.
- Work it in from the back of the top toward the front, then adjust only the front.
Product type by hair behavior
| Product type | Best for | Hold | Watch out for |
|---|---|---|---|
| Lightweight cream | Fine or soft hair, natural movement | Light | Won't hold height on its own |
| Matte paste | Medium to thick hair, crops and textured fringes | Medium to firm | Looks dry or dull if overapplied |
| Clay | Thick or coarse hair that needs separation | Firm, matte | Harder to wash out; feels heavy in excess |
| Texture powder or spray | Fine hair that needs lift at the root, quiffs | Light | Little hold alone; often paired with a cream |
If your hair sits flatter than you'd like even after drying, the low taper fade on fluffy hair explains what actually creates lift, and the low taper fade perm covers the chemical route some people take to add movement to straight hair.
Burst fade vs drop fade vs taper vs temple fade
These four cuts differ mainly in where the short area sits. A burst fade arcs around the ear and leaves the back longer. A drop fade dips lower at the back, following the curve of the skull, so the back gets faded too; our drop fade vs burst fade guide compares the two in detail. A taper shortens only the edges, usually the sideburns and nape. A temple fade works on the temples and the front of the sides.
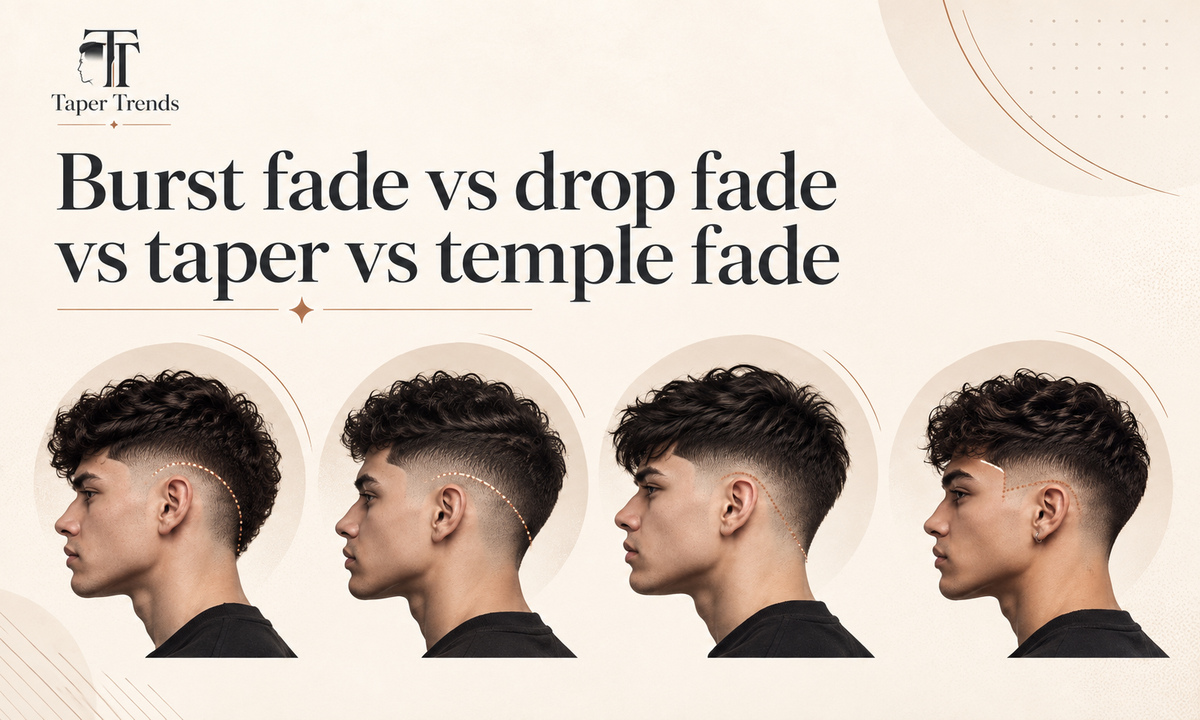
Terminology varies from shop to shop. Some shops take a taper down to skin at its shortest point and others never go that short, and Cadmen Academy notes that some barbers use “burst” and “drop” interchangeably. A photo settles it faster than any label. Our taper vs fade explainer untangles the two words, and the low taper drop fade shows the drop version on the same head.
At-a-glance comparison
| Fade type | Where the short area sits | Back of the head | Side hair kept | Suits | Main trade-off |
|---|---|---|---|---|---|
| Burst fade | Arc around the ear | Stays longer | Moderate | Mullets, mohawks, faux hawks, crops | The curve is the whole look, so it needs regular refreshing |
| Drop fade | Around the sides, dipping behind the ear and across the back | Faded | Less | Fuller tops, crops, everyday cuts | Removes the rear length a mullet needs |
| Taper | Edges only: sideburns and nape | Only the neckline is shortened | Most | Classic and conservative cuts | Least contrast |
| Temple fade | Temples and the front of the sides | Untouched | High | Sharp line-ups, most top styles | Changes only the front |
Which fade should you choose?
- Choose a burst fade if you want contrast on the sides and length kept at the back.
- Choose a drop fade if you want a rounded fade that carries all the way around the head.
- Choose a taper if you want the cut to look tidy without looking faded.
- Choose a temple fade if you only want the front sharpened.
For height rather than shape, the mid taper fade, the high taper fade and the low-to-mid taper fade cover the ground between these four shapes.
Maintenance and grow-out
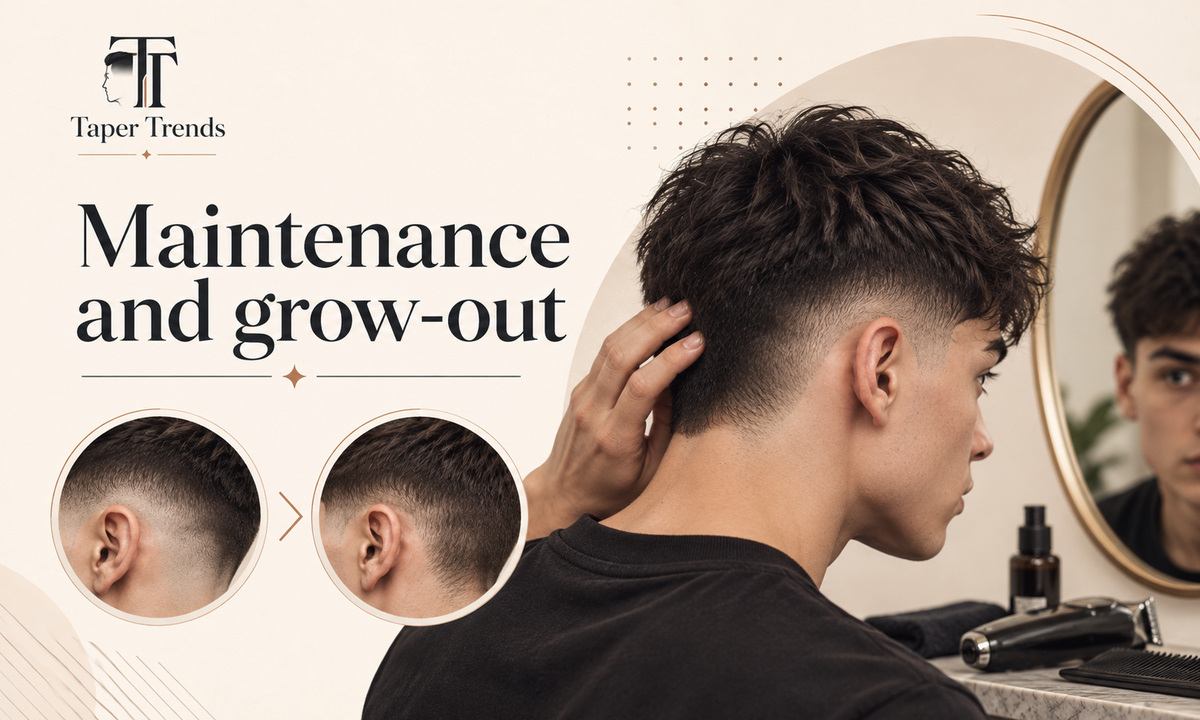
There's no single touch-up interval that suits every burst fade. A skin finish loses its contrast first, because dark regrowth shows against bare skin, and the lowest skin-faded area behind the ear is usually the first place growth appears. Shadow and guard-length finishes grow out more gradually. How often you go back depends on the finish, how fast your hair grows and how sharp you like it.
Signs it's time for a refresh
Go by what you see rather than a fixed date:
- The arc around the ear no longer has a clean edge.
- The sideburns and hairline look fuzzy.
- On a skin finish, a dark shadow has filled in the shortest area.
- The sides have filled in enough that the contrast with the top has faded.
The top and back often run on a different schedule from the fade. On a mullet, the crown can start hanging over the fade line before the fade itself needs work. If you are planning to grow the whole thing out, the long hair low taper fade and the low taper fade on short hair mark both ends of that journey.
Home care between visits
| Do | Don't |
|---|---|
| Keep styling the top in the same direction | Try to re-fade or raise the arc yourself |
| Wash out product regularly so it doesn't build up near the fade | Trim the crown or nape of a mullet at home |
| Tidy obvious neck fuzz below the neckline, if you're confident with a trimmer | Press heavy product down onto the faded area |
Common mistakes and scalp considerations
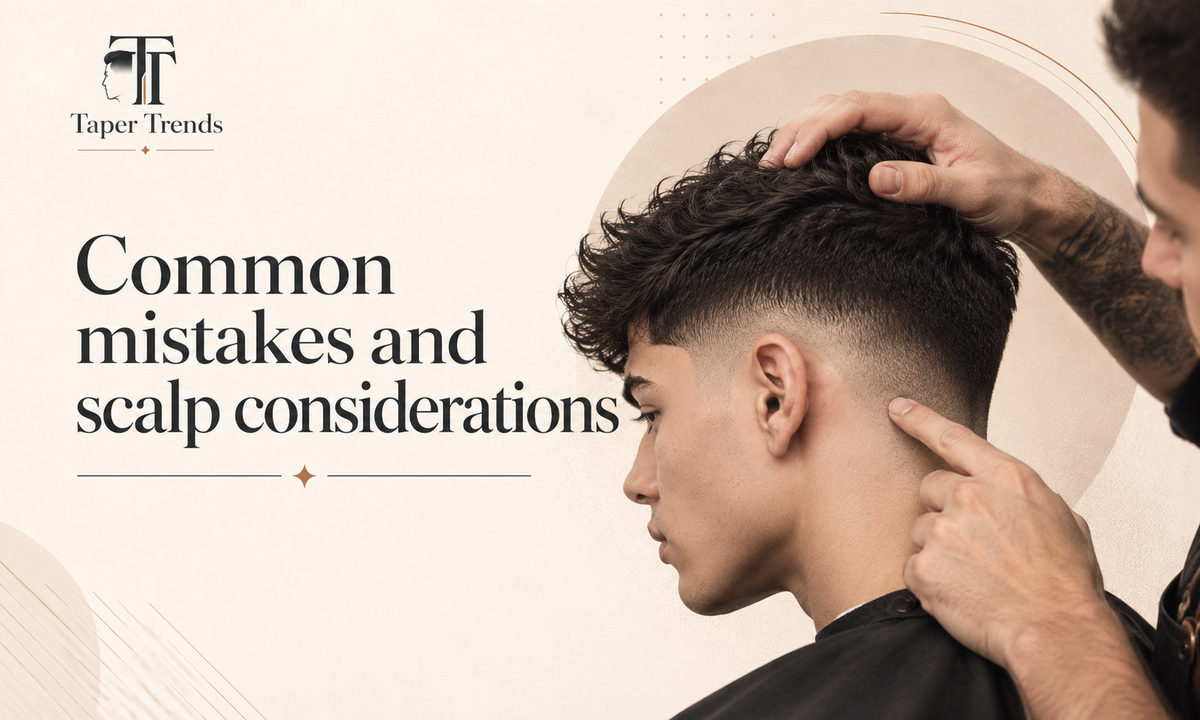
Most disappointing burst fades come from a missed instruction rather than bad clipper work. Irritated skin is the exception: that's a medical issue, not a communication one.
Cut-selection and styling mistakes
- Letting the arc climb higher than you intended because no stopping point was agreed.
- Bringing a reference photo of hair much denser than yours.
- Accepting an abrupt shelf where the fade meets the top instead of a blend.
- Losing the crown connection without meaning to.
- Letting the fade eat into the back of a mullet.
- Over-thinning dense straight hair, which can leave it looking stringy.
- Loading heavy product into fine hair, which flattens it instead of lifting it.
When to skip a skin-short finish
Skip a skin finish if you have tender bumps, pus-filled spots or ongoing irritation where the fade would sit. Cleveland Clinic lists frequent shaving as a risk factor for folliculitis, suggests limiting shaving to help prevent it, and recommends seeing a dermatologist for severe or persistent cases. The same page notes that razor bumps are more common in curly hair, but straight hair isn't immune. A shadow or short-guard finish keeps a blade off the skin while it settles.
Burst fade straight hair FAQs
Does a burst fade work on pin-straight hair?
Yes. Pin-straight hair shows the curve of a burst fade very clearly, which is part of the appeal. The same quality means any rough blend shows too, so ask your barber for a smooth transition between the fade and the top, and choose the height and finish to match your density.
Is a low or mid burst fade better for straight hair?
Neither is better in general. A low burst fade keeps more hair on the sides and suits a first fade or a conservative setting. A mid burst fade gives clearer contrast and pairs well with crops, fringes and quiffs. Decide based on how much contrast you want to see in the mirror.
How long does the top need to be for a burst fade?
A burst fade has no minimum top length, because the length depends on the style you pair with it. A buzz cut needs almost none. A crop needs enough to push forward, a quiff needs enough to lift, and a mullet or mohawk needs real length at the crown and back.
Can fine or thinning straight hair wear a burst fade?
Usually, but fine and thinning are different. Fine hair has narrow strands and can still be dense, and fine but dense hair handles most burst fade heights. Genuinely low-density hair does better with a lower arc and a shadow or guard finish, which shows less scalp than a high skin version.
Can you grow a burst fade out into a regular haircut?
Yes. As the sides grow in, a barber can reshape them into a taper or a standard fade at your next appointment. Lower, shadow-finish bursts make the in-between stage less noticeable than high skin versions. If you have been growing a mullet, decide whether to keep the back length before the sides are evened up.
Is a burst fade professional or school-friendly?
A low, shadow-finish burst fade with a neat top reads as subtle in most settings. High skin versions, long mullet backs and cut-in designs stand out more. Acceptability depends on your workplace's or school's actual grooming policy, so check that directly rather than assuming any fade is fine.
Two of those answers point elsewhere on the site. On the school question, our burst fade for boys guide covers this exact curved arc sized for a kid, while the low taper fade for boys with straight hair and the low taper fade for boys cover straight-line, school-friendly alternatives. And if your hair sits somewhere between straight and wavy, the low taper fade on wavy hair and the low taper fade for Asian hair deal with the dense, poker-straight end of the range.
Before you book: a 30-second checklist
Before you sit down, you should be able to answer these without hesitating:
- How high should the arc go: low, mid or high?
- How short at the lowest point: skin, shadow or a guard?
- How much length stays on top, and which way does it sit?
- Does the crown blend into the fade or stay separate?
- How is the back finished: neckline, extended nape, mullet or mohawk strip?
Bring a side and back photo of hair similar to yours and mention any cowlick or thin spot up front. That two-minute conversation does more for the result than any single photo.
Still comparing shapes? The burst fade haircut guide covers the arc on its own, the full rundown of fade types places it beside everything else on the menu, and the low taper fade haircuts guide is the hub for every quieter variation. For the nearest neighbors, read the burst fade mullet, the burst fade Edgar, the high taper fade on fine straight hair, or the low taper fade on straight, fine hair.
The bottom line
“Burst fade on straight hair” names a shape and a texture, and settles nothing else. The height of the arc, how short it finishes, how much stays on top, and what happens at the back are all still yours to decide.
Bring a side and a back photo, name the six details out loud, and start lower than you think you want. You can always go higher next visit.
Want more fade guides?
Browse clean, barber-ready breakdowns for every fade shape and hair type.